반응형

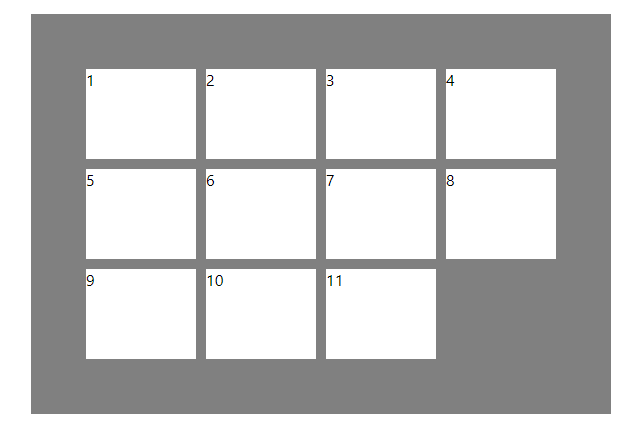

리액트 UI작업을 하면서 갤럭시의 바탕화면처럼 4개씩 혹은 특정 개수씩 한 줄에 표시하고 자동으로 다음 줄에 값들을 표시되게 하고 싶어서 display grid 속성을 사용해서 구현해보았습니다.
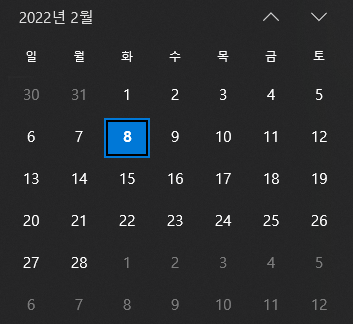
예를 들어 달력처럼 5x7의 표가 있고 데이터가 일렬로 담겨있을 때 쉽게 표에 데이터를 채워 넣을 수 있는 방법입니다.
(테이블에 자동으로 채워넣는 방식!)
App.jsx
import React from "react";
import GridTest from "./components/GridTest";
function App() {
  return (
    <div>
      <GridTest></GridTest>
    </div>
  );
}
export default App;
components/GridTest.jsx
import React from "react";

function GridTest() {
  const items = [1, 2, 3, 4, 5, 6, 7, 8, 9, 10, 11];
  return (
    <div
      style={{
        margin: "50px",
        padding: "50px",
        width: "480px",
        display: "grid",
        gridTemplateRows: "1fr ",
        gridTemplateColumns: "1fr 1fr 1fr 1fr",
        backgroundColor: "gray",
      }}
    >
      {items.map((item, key) => (
        <div
          key={key}
          style={{ margin: "5px", backgroundColor: "white", height: "90px" }}
        >
          {item}
        </div>
      ))}
    </div>
  );
}
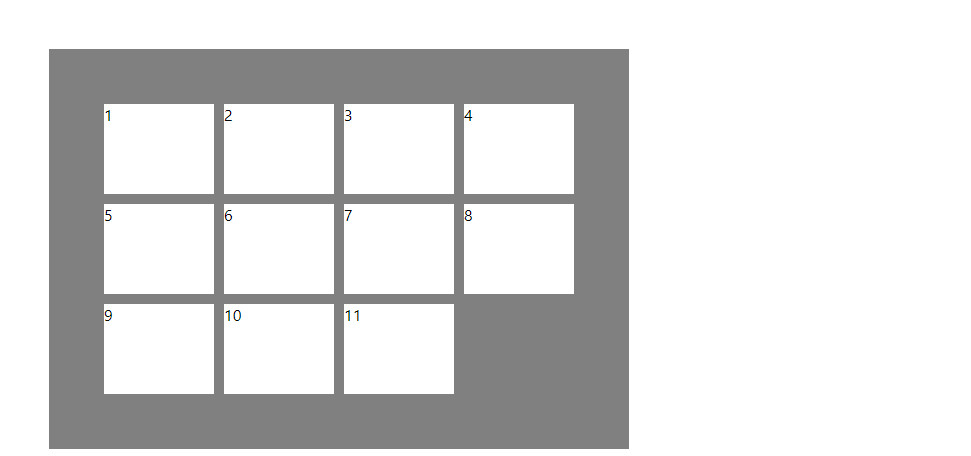
export default GridTest;👨🏻💻 결과

    <div
      style={{
        margin: "50px",
        padding: "50px",
        width: "480px",
        display: "grid",
        gridTemplateRows: "1fr ",
        gridTemplateColumns: "1fr 1fr 1fr 1fr",
        backgroundColor: "gray",
      }}
    >
div style에 gridTemplateRows, gridTemplateColumns라는 속성으로 그리드를 만들어 준 뒤
("1fr 2fr 1fr" => 1 : 2 : 1의 비율이라는 의미!)
      {items.map((item, key) => (
        <div
          key={key}
          style={{ margin: "5px", backgroundColor: "white", height: "90px" }}
        >
          {item}
        </div>
      ))}
map 함수로 배열 데이터들을 반복해서 div를 만들어줍니다.
map함수가 어렵거나 데이터가 별로 없어 수작업이 가능하신 분들은 아래와 같이도 사용할 수 있습니다.
(위의 GridTest.jsx 코드와 동일한 결과를 나타냅니다.)
components/GridTest.jsx
import React from "react";

function GridTest() {
  const items = [1, 2, 3, 4, 5, 6, 7, 8, 9, 10, 11];
  return (
    <div
      style={{
        margin: "50px",
        padding: "50px",
        width: "480px",
        display: "grid",
        gridTemplateRows: "1fr ",
        gridTemplateColumns: "1fr 1fr 1fr 1fr",
        backgroundColor: "gray",
      }}
    >
      <div style={{ margin: "5px", backgroundColor: "white", height: "90px" }}>
        1
      </div>
      <div style={{ margin: "5px", backgroundColor: "white", height: "90px" }}>
        2
      </div>
      <div style={{ margin: "5px", backgroundColor: "white", height: "90px" }}>
        3
      </div>
      <div style={{ margin: "5px", backgroundColor: "white", height: "90px" }}>
        4
      </div>
      <div style={{ margin: "5px", backgroundColor: "white", height: "90px" }}>
        5
      </div>
      <div style={{ margin: "5px", backgroundColor: "white", height: "90px" }}>
        6
      </div>
      <div style={{ margin: "5px", backgroundColor: "white", height: "90px" }}>
        7
      </div>
      <div style={{ margin: "5px", backgroundColor: "white", height: "90px" }}>
        8
      </div>
      <div style={{ margin: "5px", backgroundColor: "white", height: "90px" }}>
        9
      </div>
      <div style={{ margin: "5px", backgroundColor: "white", height: "90px" }}>
        10
      </div>
      <div style={{ margin: "5px", backgroundColor: "white", height: "90px" }}>
        11
      </div>
    </div>
  );
}

export default GridTest;
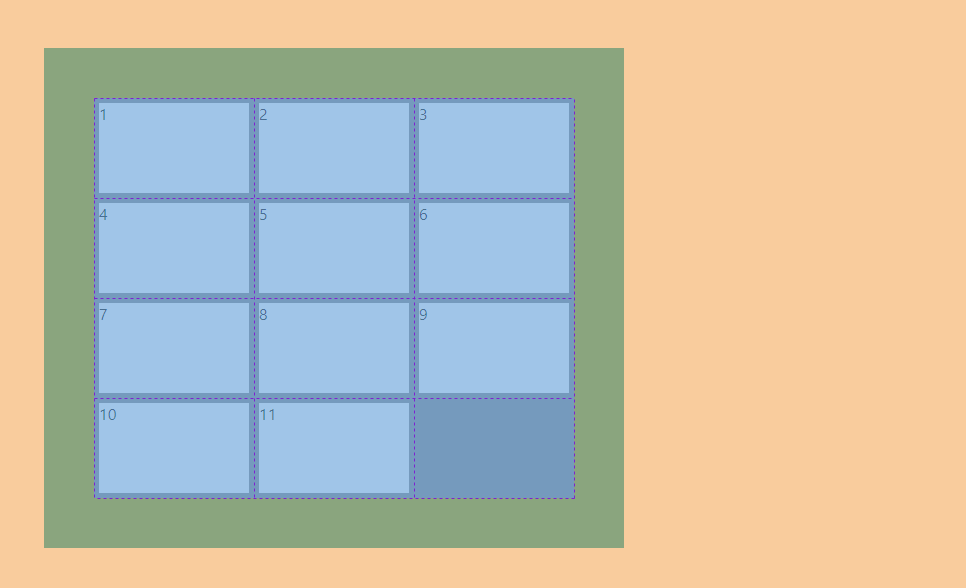
💡 응용해서 다른 형식의 grid도 작성할 수 있습니다!!
예를 들어 3열로 표시하기 등등!
components/GridTest.jsx
import React from "react";

function GridTest() {
  const items = [1, 2, 3, 4, 5, 6, 7, 8, 9, 10, 11];
  return (
    <div
      style={{
        margin: "50px",
        padding: "50px",
        width: "480px",
        display: "grid",
        gridTemplateRows: "1fr ",
        gridTemplateColumns: "1fr 1fr 1fr",
        backgroundColor: "gray",
      }}
    >
      {items.map((item, key) => (
        <div
          key={key}
          style={{ margin: "5px", backgroundColor: "white", height: "90px" }}
        >
          {item}
        </div>
      ))}
    </div>
  );
}

export default GridTest;
gridTemplateColumns: "1fr 1fr 1fr"

반응형
'⚛️React' 카테고리의 다른 글
| [React] 리액트 setState Callback 함수 사용법 (0) | 2022.03.11 |
|---|---|
| [React] 리액트 <select>에서 state로 defaultValue가 안먹힐 때 (1) | 2022.02.15 |
| [React] 리액트 Hooks : useContext() 함수 사용법 (전역 상태 관리) (0) | 2022.01.09 |
| [React] 리액트 Hooks : useReducer() 함수 사용법 (컴포넌트 상태관리, 업데이트) (0) | 2022.01.08 |
| [React] React.memo를 사용한 컴포넌트 최적화(리렌더링 방지) (3) | 2022.01.07 |